
AI Testing Tutorial: Build Your First AI-Powered QA Suite in 60 Minutes
A hands-on AI testing tutorial for QA engineers — prompt, generate, run, self-heal and report an end-to-end Playwright suite in one hour using ChatGPT, Claude and Copilot. Includes code, screenshots, PAA FAQs and governance checklist.

Last updated: July 15, 2026 · 14 min read · By SoftwareTestPilot
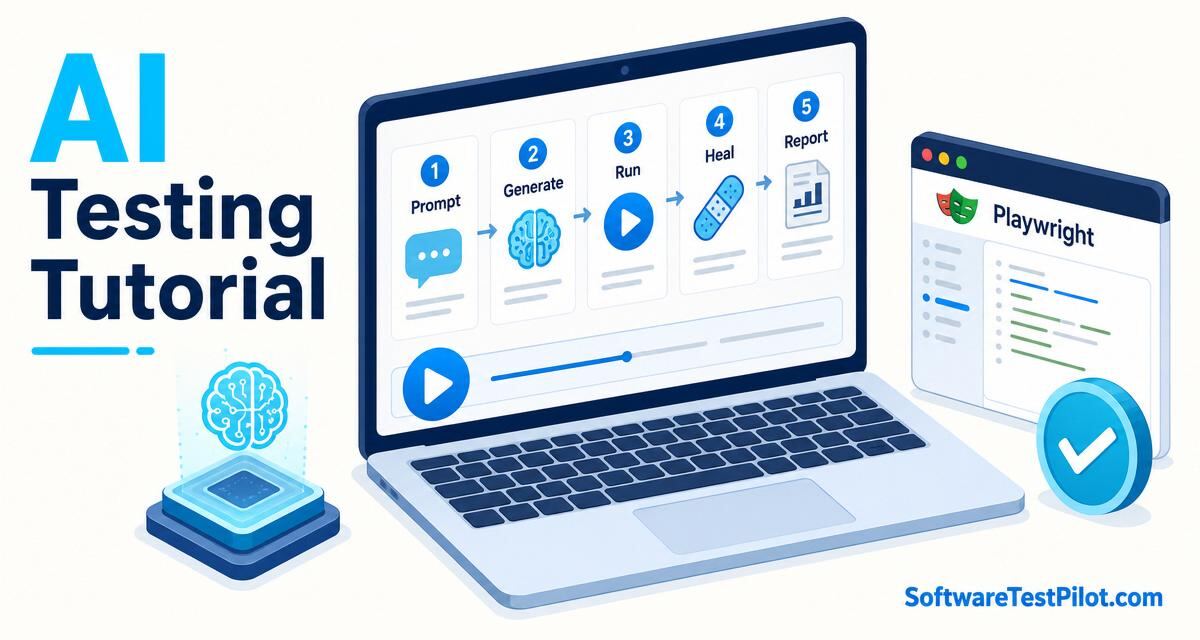
This AI testing tutorial takes you from an empty repo to a running, self-healing, AI-generated Playwright suite in about 60 minutes. It consolidates every "AI testing tutorial", "AI in testing tutorial for beginners", "AI-driven testing tutorial" and "how to do AI testing step by step" search into one hands-on walkthrough you can copy-paste.
If you want the theory first, read the LLM for QA testing playbook and AI testing course roadmap. When you're ready to buy a platform instead of building, jump to the AI testing platform buyer's guide.
What you'll build
- Five Playwright tests generated from a plain-English spec.
- A self-healing locator loop that recovers from UI drift.
- An evals harness that grades every AI-generated test against a rubric.
- A CI job that fails the build on hallucinated selectors.
- A one-page release report drafted by an LLM and human-reviewed.
1. Prerequisites (5 min)
- Node 20+, VS Code, and Git.
- An enterprise LLM key with a no-training clause (OpenAI, Anthropic or Google). Never use consumer chat for real data.
- GitHub Copilot or Cursor in your IDE.
- Basic Playwright familiarity — new? Start with our Playwright complete guide.
Bootstrap the project:
npm create playwright@latest ai-tutorial -- --quiet --browser=chromium --ct=false
cd ai-tutorial
npm i -D openai zod dotenv
echo "OPENAI_API_KEY=..." > .env
2. Step 1 — Prompt: write an RCTF spec (10 min)
The single biggest quality lever in this tutorial is the prompt. Use the RCTF framework (Role, Context, Task, Format):
ROLE: You are a senior SDET writing Playwright TypeScript tests.
CONTEXT: The app under test is https://demo.playwright.dev/todomvc.
Users can add, complete, filter and delete todos.
TASK: Generate 5 E2E tests covering: add, complete, delete, filter=Active, clear-completed.
Prefer role-based locators. No hard sleeps. Include one negative case.
FORMAT: Output a single tests/todo.spec.ts file. No prose, no markdown fences.
Paste that into ChatGPT/Claude/Gemini and save the output to tests/todo.spec.ts. Run npx playwright test. Expect 4/5 to pass — the negative case usually needs a tweak.
3. Step 2 — Generate: pair with Copilot in the IDE (10 min)
Open tests/todo.spec.ts. Add a comment: // TODO: cover edit-in-place and Escape-cancel. Accept the Copilot suggestion, run the tests. This is the fastest AI-augmented authoring loop in QA today.
For heavier work (page objects, API layers) use Claude Code or Cursor with the whole repo as context. See our deep dive on GitHub Copilot for testing.
4. Step 3 — Self-heal locators (15 min)
Create src/heal.ts. When a locator fails, dump the DOM, ask the LLM for the nearest role-based selector, and retry once:
import OpenAI from "openai";
const client = new OpenAI();

export async function healLocator(html: string, intent: string) {
  const res = await client.chat.completions.create({
    model: "gpt-5.5",
    messages: [
      { role: "system", content: "Return ONLY a Playwright role-based locator string." },
      { role: "user", content: `Intent: ${intent}\nDOM snippet:\n${html.slice(0, 4000)}` },
    ],
    temperature: 0,
  });
  return res.choices[0].message.content?.trim();
}
Wrap your page.locator() calls in a try/catch that invokes healLocator on failure. Log every heal event so a human can review. Ship the healed selector to Git as a PR — never overwrite silently.
5. Step 4 — Evals: grade the AI (10 min)
Add evals/rubric.ts — score every AI-generated test on the 7-point rubric:
- Compiles without edits
- Uses role-based locators only
- No hard sleeps
- One assertion per behaviour
- Independent (can run in any order)
- Deterministic seed data
- Fails loudly (no swallowed errors)
Run the rubric in CI. If any test scores below 5/7, block the merge and open a review issue. This is how you keep hallucinations out of main.
6. Step 5 — LLM-drafted release report (5 min)
After the suite runs, feed the JUnit XML and heal-log into a prompt that returns a one-page release brief (pass rate, top 3 flakes, healed locators, risk call). See templates in 40 AI prompts for testers.
7. Wire it into CI
name: ai-tests
on: [pull_request]
jobs:
  test:
    runs-on: ubuntu-latest
    steps:
      - uses: actions/checkout@v4
      - uses: actions/setup-node@v4
        with: { node-version: 20 }
      - run: npm ci
      - run: npx playwright install --with-deps chromium
      - run: npx playwright test
        env:
          OPENAI_API_KEY: ${{ secrets.OPENAI_API_KEY }}
      - run: node evals/run.js
Related: GitHub Actions CI for automation.
8. Governance checklist
Every AI-in-testing engagement must run under governance:
- Enterprise LLM APIs with a no-training / zero-retention clause. Never paste customer data into a free consumer chat.
- Redact PII, PANs, JWTs, HARs, secrets and production URLs before any prompt.
- Version prompts, evals and agent tools in Git. Every AI-generated artefact ships with an AI-attribution line and a named human reviewer.
- Map controls to the NIST AI RMF and, for EU products, the EU AI Act.