SpecFlow C# BDD Tutorial: Complete 2026 Guide
Complete SpecFlow C# BDD tutorial for 2026. Setup, feature files, step definitions, scenario outlines, table transformations, hooks, tags, parallel execution, and LivingDoc reporting.

In this article
- What is SpecFlow?
- Step 1 — Prerequisites
- Step 2 — Create the project
- Step 3 — Add SpecFlow packages
- Step 4 — Write your first feature file
- Step 5 — Implement step definitions
- Step 6 — Hooks for setup & teardown
- Step 7 — Run the tests
- Step 8 — Scenario outlines (data-driven)
- Step 9 — Typed table transformations
- Step 10 — Tags & filtering
- Step 11 — Generate LivingDoc
- Step 12 — Best practices
- Step 13 — Advanced patterns
- Continue your BDD journey
- Frequently asked questions
Last updated: June 29, 2026 · Reading time: 9 minutes · By SoftwareTestPilot Editorial Team
What you'll build: A production-ready SpecFlow 3.9 BDD suite in C# / .NET 8, with feature files, step definitions, scenario outlines, typed table transformations, tags, parallel execution, and SpecFlow+ LivingDoc reporting.
What is SpecFlow?
SpecFlow is the .NET port of Cucumber. It brings Behavior-Driven Development (BDD) to C# and .NET — same Gherkin syntax, native NUnit / xUnit / MSTest runners, and first-class Visual Studio support.
For deeper background, see our SpecFlow C# automation guide, the BDD Cucumber tutorial, and the SpecFlow interview questions hub.
Step 1 — Prerequisites
- .NET 8 SDK or .NET 9 SDK
- Visual Studio 2022 (or JetBrains Rider) with the SpecFlow extension
- C# fundamentals — classes, interfaces, attributes
Step 2 — Create the project
dotnet new nunit -n SpecFlowDemo
cd SpecFlowDemo
Step 3 — Add SpecFlow packages
dotnet add package SpecFlow
dotnet add package SpecFlow.NUnit
dotnet add package SpecFlow.Tools.MsBuild.GenerationStep 4 — Write your first feature file
Create Features/Login.feature:
Feature: User login
  As a registered user
  I want to log in to the application

Scenario: Successful login
  Given I am on the login page
  When I enter "admin@example.com" as the email
  And I enter "Sup3rSecret!" as the password
  And I click the "Sign in" button
  Then I should be on the dashboard page
  And I should see "Welcome, admin"
In Visual Studio, right-click the feature file → Generate Step Definitions. SpecFlow scaffolds a stub class with all step methods.
Step 5 — Implement step definitions
using NUnit.Framework;
using OpenQA.Selenium;
using OpenQA.Selenium.Support.UI;
using TechTalk.SpecFlow;

namespace SpecFlowDemo.StepDefinitions
{
    [Binding]
    public class LoginSteps
    {
        private readonly ScenarioContext _scenarioContext;
        private IWebDriver _driver;

        public LoginSteps(ScenarioContext scenarioContext)
        {
            _scenarioContext = scenarioContext;
            _driver = (IWebDriver)_scenarioContext["driver"];
        }

        [Given(@"I am on the login page")]
        public void GivenIAmOnTheLoginPage()
        {
            _driver.Navigate().GoToUrl("https://example.com/login");
        }

        [When(@"I enter ""([^""]*)"" as the email")]
        public void WhenIEnterEmail(string email) =>
            _driver.FindElement(By.Id("email")).SendKeys(email);

        [When(@"I enter ""([^""]*)"" as the password")]
        public void WhenIEnterPassword(string password) =>
            _driver.FindElement(By.Id("password")).SendKeys(password);

        [When(@"I click the ""([^""]*)"" button")]
        public void WhenIClickButton(string label) =>
            _driver.FindElement(By.CssSelector("button")).Click();

        [Then(@"I should be on the dashboard page")]
        public void ThenIShouldBeOnTheDashboardPage()
        {
            var wait = new WebDriverWait(_driver, TimeSpan.FromSeconds(10));
            wait.Until(ExpectedConditions.UrlContains("/dashboard"));
            Assert.That(_driver.Url, Does.Contain("/dashboard"));
        }
    }
}
Step 6 — Hooks for setup & teardown
[Binding]
public class Hooks
{
    [BeforeScenario]
    public void BeforeScenario()
    {
        var driver = new ChromeDriver();
        ScenarioContext.Current["driver"] = driver;
    }

    [AfterScenario]
    public void AfterScenario()
    {
        var driver = (IWebDriver)ScenarioContext.Current["driver"];
        driver?.Quit();
    }
}
Step 7 — Run the tests
dotnet testThe NUnit runner discovers and executes the SpecFlow scenarios as standard .NET tests.
Step 8 — Scenario outlines (data-driven)
Scenario Outline: Login with multiple users
  Given I am on the login page
  When I enter "<email>" as the email
  And I enter "<password>" as the password
  And I click the "Sign in" button
  Then I should see "<greeting>"

Examples:
  | email              | password     | greeting        |
  | admin@example.com  | Sup3rSecret! | Welcome, admin  |
  | viewer@example.com | ViewerPass1! | Welcome, viewer |
The step definitions are unchanged — SpecFlow substitutes the Examples values at runtime.
Step 9 — Typed table transformations
public class User
{
    public string Email { get; set; }
    public string Password { get; set; }
    public string ExpectedGreeting { get; set; }
}

[Binding]
public class Transformations
{
    [StepArgumentTransformation]
    public IEnumerable<User> TransformUsers(Table table) =>
        table.CreateSet<User>();
}
Feature file:
Scenario: Apply multiple users
  Given I am on the login page
  When I apply the following users:
    | email             | password     | expectedGreeting |
    | admin@example.com | Sup3rSecret! | Welcome, admin   |
Step definition accepts IEnumerable<User> directly — no manual parsing.
Step 11 — Generate LivingDoc
SpecFlow+ LivingDoc renders human-readable HTML for stakeholders:
dotnet tool install --global SpecFlow.Plus.LivingDoc.CLI
livingdoc test-assembly SpecFlowDemo.dll -t TestExecution.json
Open the generated LivingDoc.html in a browser to browse all features, scenarios, and step results.
Step 12 — Best practices
Do
- Hold Three Amigos workshops (PM + Dev + QA) before writing Gherkin
- Use declarative language ("I should see…"), not imperative click-by-click steps
- Use scenario outlines for data-driven tests
- Use typed table transformations
- Generate LivingDoc for stakeholders
- Run on every PR via CI
Don't
- Don't put business logic in step definitions — keep them thin
- Don't write imperative scenarios that read like UI scripts
- Don't skip the discovery workshop
- Don't use SpecFlow for unit tests — keep those in xUnit / NUnit
- Don't let your BDD suite become a maintenance burden — prune dead scenarios
Step 13 — Advanced patterns
1. Reusable step definitions
[Binding]
public class CommonSteps
{
    [Given(@"I am logged in as ""([^""]*)""")]
    public void GivenIAmLoggedInAs(string user) { /* login logic */ }
}
2. Context injection for shared state
[Binding]
public class TestContext
{
    public IWebDriver Driver { get; set; }
    public string CurrentUser { get; set; }
}
3. Parallel execution
[assembly: Parallelizable(ParallelScope.Fixtures)]Use ThreadLocal<IWebDriver> to avoid driver conflicts across threads.
4. Ordered hooks
[Binding]
public class Hooks
{
    [BeforeScenario(Order = 1)] public void SetupDriver() { }
    [BeforeScenario(Order = 2)] public void SetupTestData() { }
    [BeforeScenario(Order = 3)] public void Login() { }
}
Continue your BDD journey
Frequently asked questions
What is SpecFlow in 2026?
SpecFlow 3.9.x is the .NET port of Cucumber. It supports .NET 6, 7, 8, and 9 with NUnit, xUnit, or MSTest runners and is maintained by Tricentis.
Is SpecFlow free?
Yes — SpecFlow 3.x core is free and open source. Tricentis sells commercial add-ons such as SpecFlow+ LivingDoc and Excel integration, but the core BDD engine is free.
What's the difference between SpecFlow and Cucumber?
Same Gherkin syntax, different language binding. SpecFlow targets C# / .NET; Cucumber covers Java, JavaScript, Python, and Ruby.
Can SpecFlow generate HTML reports?
Yes — via SpecFlow+ LivingDoc, which renders an interactive HTML site of features, scenarios, step results, and trends.
Should I use NUnit or xUnit with SpecFlow?
Either works. NUnit is more common in SpecFlow projects because of its mature parallel execution and rich attribute set, but xUnit is fully supported.
How long does it take to learn SpecFlow?
For an experienced C# developer: 1–2 weeks to productive on basic scenarios, and 2–4 weeks to feel confident with hooks, transformations, parallel runs, and LivingDoc.
Practice these questions
Rehearse Selenium and Playwright automation questions covering framework design, waits, locators and CI/CD.
Was this article helpful?
Keep building your QA edge
Pillar guides- AI Mock Interviewpractice these questions with our AI mock interviewLive AI-powered mock interviews with rubric feedback.
- ATS Resume Reviewrun your resume through our scannerFree AI ATS scoring with rewrite suggestions.
- QA Jobs Radarsee today's openingsLive QA / SDET / automation job feed, refreshed daily.
Continue reading
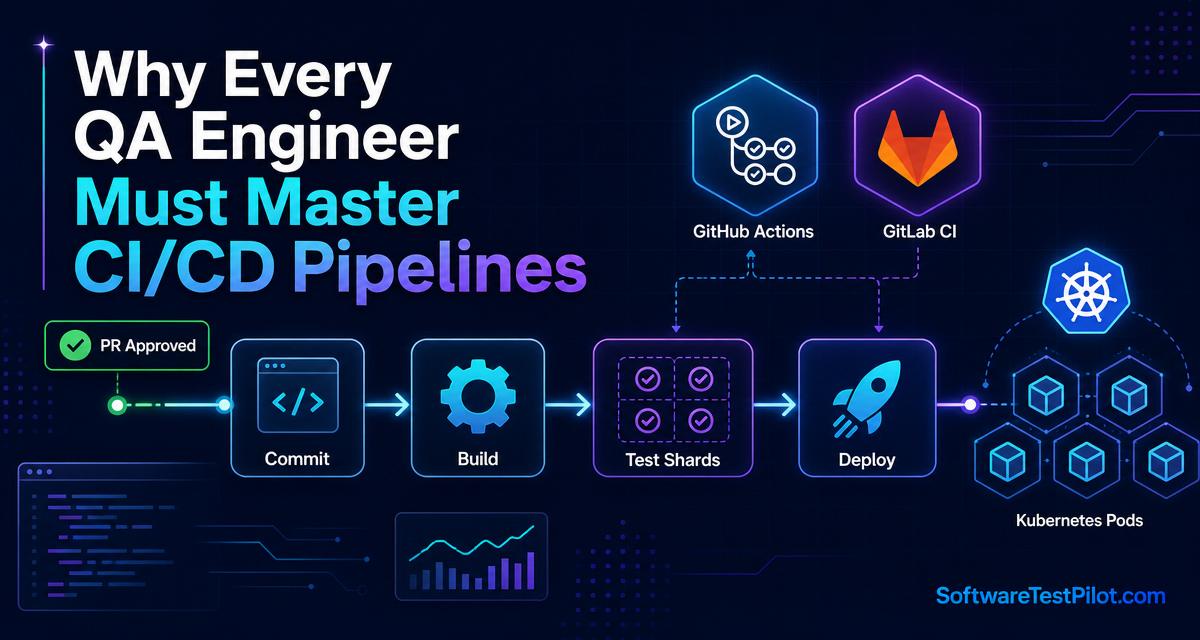
Why Every QA Engineer Must Master CI/CD Pipelines in 2026 (Or Risk Obsolescence)
12 min read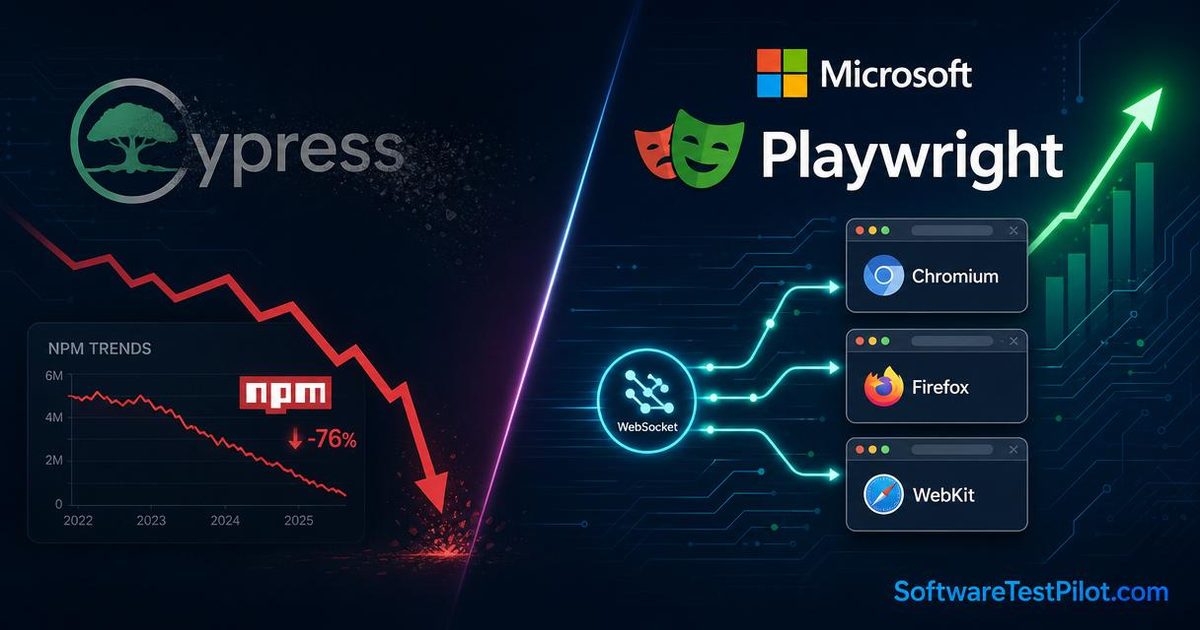
Is Cypress Dead? Analyzing 2026 Playwright Market Share
12 min read
Why Tests Pass Locally But Fail in CI/CD (And the 6 Fixes That Actually Work in 2026)
13 min readJoin the QA Community
Connect with fellow testers, share job leads, and get career advice.
Stop Reinventing the Wheel. Upgrade Your QA Arsenal.
Take your testing skills from beginner to Lead Engineer. Supercharge your daily workflow with our premium digital resources.
- ⚡ Ready-to-use testing strategy templates
- 🔥 Advanced API & UI automation guides
- ⏱️ Save 10+ hours a week on test planning