Playwright Automation Testing Tutorial for Beginners (2026, TypeScript + Zero Setup)
Learn Playwright automation from zero in under 60 minutes — install, first test, locators, auto-waiting, POM, fixtures, and CI. Copy-paste code, no prior experience needed.

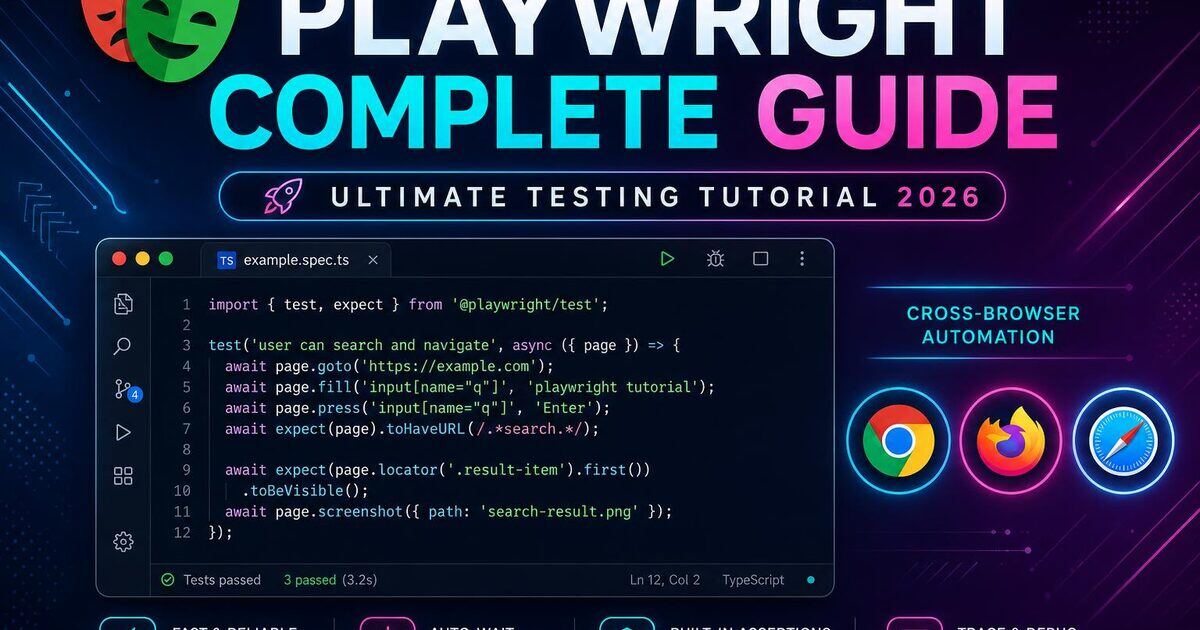
Last updated: July 11, 2026 · 12 min read
Playwright is Microsoft's cross-browser automation library — auto-waits, WebSocket support, and a single API that runs on Chromium, WebKit, and Firefox. This tutorial takes you from install to CI in under 60 minutes. Pair it with the Playwright Interview Questions for job prep.
1. Install Playwright
npm init playwright@latest
# choose TypeScript, e2e folder = tests, GitHub Actions = yes
This creates a working project with example tests. See the official docs for options.
2. Your first test
import { test, expect } from '@playwright/test';

test('homepage has correct title', async ({ page }) => {
  await page.goto('https://softwaretestpilot.com');
  await expect(page).toHaveTitle(/QA/);
});
Run it: npx playwright test. Watch it pass in Chromium, Firefox, and WebKit — no drivers to install.
3. Locators — the modern way
Forget CSS-first thinking. Playwright rewards user-facing locators:
await page.getByRole('button', { name: 'Sign in' }).click();
await page.getByLabel('Email').fill('test@example.com');
await page.getByPlaceholder('Password').fill('secret');
await page.getByText('Welcome back').isVisible();
See our complete locators guide.
4. Auto-waiting — no more sleeps
Every Playwright action auto-waits for the element to be visible, stable, enabled, and receive events. You almost never need explicit waits. Use expect(locator).toBeVisible() for assertions and Playwright retries until timeout.
5. Page Object Model
export class LoginPage {
  constructor(private page: Page) {}
  async login(email: string, pw: string) {
    await this.page.getByLabel('Email').fill(email);
    await this.page.getByLabel('Password').fill(pw);
    await this.page.getByRole('button', { name: 'Sign in' }).click();
  }
}
Full walkthrough: Playwright POM with TypeScript.
6. Fixtures — reusable setup
export const test = base.extend<{ loggedInPage: Page }>({
  loggedInPage: async ({ page }, use) => {
    await new LoginPage(page).login('demo@test.com', 'pw');
    await use(page);
  },
});
7. CI in GitHub Actions
The generator scaffolds a working .github/workflows/playwright.yml — commit and push, and your tests run on every PR across all browsers in parallel.
Continue your Playwright journey
First 60 minutes with Playwright: a runnable beginner walk-through (2026)
Reading about Playwright and typing Playwright are different skills. This is the exact 60-minute walkthrough we give new engineers on their first day — verified against Playwright 1.48+ (2026 release line). Every step is copy-pasteable.
Minute 0-10: install and scaffold
mkdir first-playwright && cd first-playwright
npm init -y
npm init playwright@latest
# Accept defaults: TypeScript, tests/ folder, GitHub Actions workflow, Chromium+Firefox+WebKit
The generator writes a playwright.config.ts, a sample tests/example.spec.ts, and (optionally) a .github/workflows/playwright.yml. That is a production-grade skeleton in one command.
Minute 10-30: your first real test
Replace the sample with a test against the public demo site the Playwright team maintains:
import { test, expect } from playwright/test;

test(demo todo - add complete delete, async ({ page }) => {
  await page.goto(https://demo.playwright.dev/todomvc);
  const input = page.getByPlaceholder(What needs to be done?);
  await input.fill(Ship first Playwright test);
  await input.press(Enter);
  const item = page.getByTestId(todo-item);
  await expect(item).toHaveCount(1);
  await item.getByRole(checkbox).check();
  await expect(item).toHaveClass(/completed/);
});
Run it with npx playwright test --headed and watch the browser walk through your test. Two commits later this pattern — getByRole / getByPlaceholder / expect().toHave*() — will become muscle memory.
Minute 30-45: the trace viewer changes everything
Break your test on purpose and rerun with tracing:
npx playwright test --trace on
npx playwright show-report
The trace viewer gives you a full DOM snapshot at each step, network waterfall, and console log. This is the tool that makes Playwright genuinely better than Selenium in 2026 for debugging flakes.
Minute 45-60: wire it into CI
The generated playwright.yml is production-ready. Push to GitHub and you get a green check on every PR. From there you can add sharding (--shard=1/4), video capture on failure, and a JUnit reporter for your test-management tool.
What to learn next (in order)
- Locator best practices — the single highest-leverage skill.
- Page Object Model — wrap every locator in a class.
- API testing with request.
- Fixtures — the correct way to share setup across tests.
- Auth state reuse — log in once, reuse the storage state across all tests.